Transforming your bedroom into a cozy and inviting sanctuary often starts with the right headboard. A reclaimed wood headboard can add a touch of rustic charm and warmth to any bedroom, making it a popular choice for those seeking a unique and eco-friendly decor element. This blog post will guide you through the process of creating your own reclaimed wood headboard, from selecting the right materials to the final touches that will make your bedroom stand out.
Understanding Reclaimed Wood
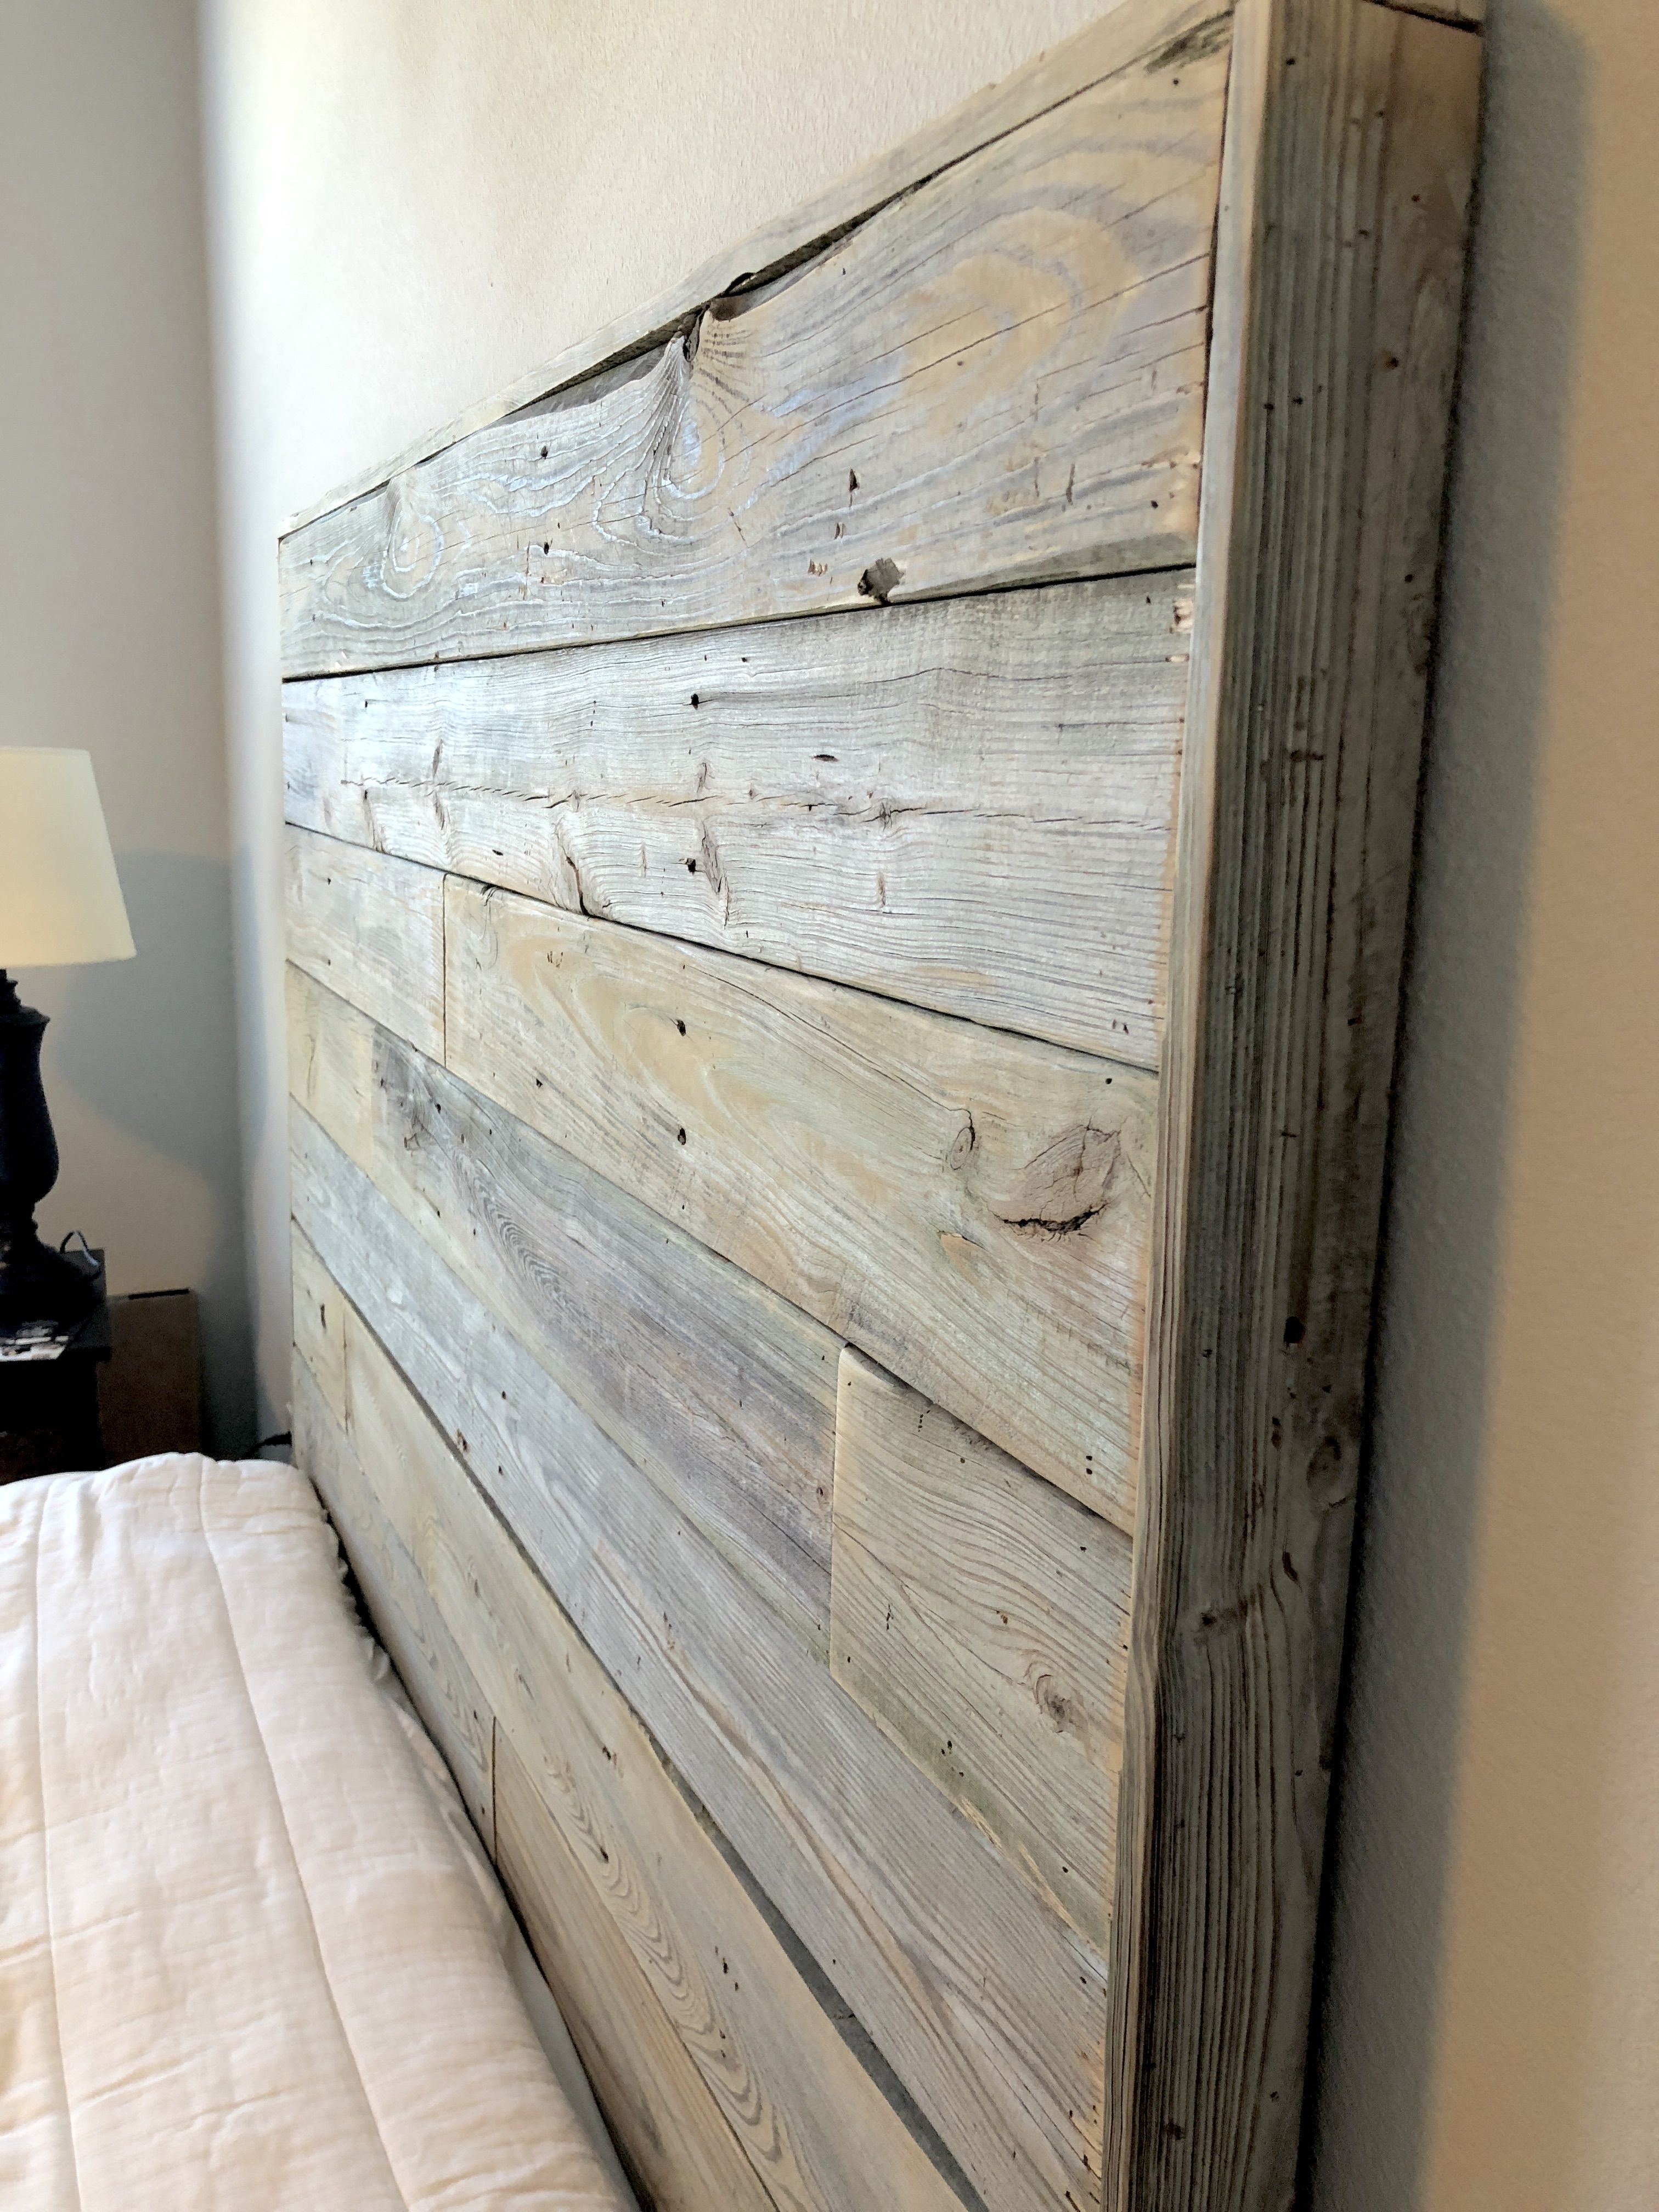
Reclaimed wood is wood that has been previously used in construction or other applications and is then repurposed for new projects. This type of wood is not only environmentally friendly but also adds a unique character to your furniture. Reclaimed wood often comes with a rich history, visible through its weathered appearance, nail holes, and other imperfections that tell a story.
When choosing reclaimed wood for your headboard, consider the following types:
- Pine: Known for its light color and soft texture, pine is a popular choice for reclaimed wood projects. It is relatively easy to work with and can be stained or painted to match your bedroom decor.
- Oak: Oak is a durable and strong wood with a distinctive grain pattern. It is often used in flooring and furniture, making it a great option for a sturdy headboard.
- Cedar: Cedar is known for its natural resistance to rot and insects, making it an excellent choice for outdoor projects. However, it can also be used indoors for a unique, aromatic touch.
Designing Your Reclaimed Wood Headboard
Before you start building, it's essential to have a clear design in mind. Consider the size of your bed, the overall style of your bedroom, and the level of difficulty you're comfortable with. Here are some design ideas to inspire you:
- Simple and Modern: A clean, minimalist design with straight lines and a single color stain can complement modern and contemporary bedrooms.
- Rustic and Charming: Incorporate distressed wood, visible nail holes, and a natural finish to create a rustic, farmhouse-style headboard.
- Intricate and Ornate: For a more elaborate design, consider adding carved details, inlays, or a multi-panel layout to create a statement piece.
Gathering Materials and Tools
Once you have a design in mind, gather the necessary materials and tools. Here's a list to get you started:
| Materials | Tools |
|---|---|
| Reclaimed wood boards | Saw (hand saw, circular saw, or jigsaw) |
| Wood glue | Drill and screws |
| Sandpaper (various grits) | Clamps |
| Stain or paint | Safety gear (gloves, goggles, mask) |
| Sealer or varnish | Tape measure |
| Brackets or cleats for mounting | Pencil |
Ensure you have all the necessary materials and tools before starting your project to avoid any interruptions.
Building Your Reclaimed Wood Headboard
Now that you have your design and materials ready, it's time to start building. Follow these steps to create your reclaimed wood headboard:
Step 1: Measure and Cut the Wood
Measure the width of your bed and determine the desired height of your headboard. Use a saw to cut the reclaimed wood boards to the appropriate sizes. Ensure that the cuts are straight and accurate for a polished finish.
🛠️ Note: Always wear safety gear, including gloves, goggles, and a mask, when using power tools.
Step 2: Assemble the Panels
If your design includes multiple panels, use wood glue and clamps to attach the boards together. Allow the glue to dry according to the manufacturer's instructions. For added strength, you can also use screws to secure the panels.
Step 3: Sand the Wood
Once the panels are assembled, use sandpaper to smooth out any rough edges or surfaces. Start with a coarse grit (e.g., 80-120) and gradually move to a finer grit (e.g., 220-320) for a smooth finish. Sanding is crucial for achieving a professional look and ensuring that the stain or paint adheres evenly.
Step 4: Stain or Paint the Headboard
Apply your chosen stain or paint to the headboard using a brush or cloth. Follow the grain of the wood for a natural look. Allow the first coat to dry completely before applying additional coats. Sand lightly between coats for a smoother finish.
🛠️ Note: Work in a well-ventilated area when staining or painting to avoid inhaling fumes.
Step 5: Seal the Headboard
After the final coat of stain or paint has dried, apply a sealer or varnish to protect the wood and enhance its natural beauty. Follow the manufacturer's instructions for application and drying times.
Step 6: Mount the Headboard
Attach brackets or cleats to the back of the headboard and secure them to the wall using screws. Ensure that the headboard is level and securely fastened to the wall. If you prefer not to mount it directly to the wall, you can attach it to the bed frame instead.
🛠️ Note: Use a stud finder to locate the studs in your wall for secure mounting. If you can't find studs, use wall anchors designed for heavy loads.
Adding Final Touches
Once your reclaimed wood headboard is mounted, you can add final touches to complete the look. Consider the following ideas:
- Lighting: Add wall sconces or string lights above or around the headboard for a cozy ambiance.
- Decorative Accents: Hang artwork, mirrors, or shelves above the headboard to create a focal point in your bedroom.
- Bedding and Pillows: Choose bedding and pillows that complement the rustic charm of your headboard for a cohesive look.
These final touches will help you create a bedroom that is both stylish and inviting.

Your reclaimed wood headboard is now complete and ready to transform your bedroom into a cozy retreat. The unique character and warmth of reclaimed wood will add a touch of rustic charm to your space, making it a focal point that you and your guests will admire.
Creating a reclaimed wood headboard is a rewarding DIY project that allows you to express your creativity and add a personal touch to your bedroom. By following the steps outlined in this guide, you can build a headboard that not only enhances the aesthetics of your room but also tells a story through its reclaimed materials. Whether you opt for a simple and modern design or a more intricate and ornate style, your headboard will be a testament to your craftsmanship and attention to detail.
Related Terms:
- solid wooden headboard
- handmade wooden headboards
- custom wood headboards king
- rustic wooden headboards king size
- reclaimed wood headboard diy
- rustic wooden headboards